Free Local Delivery on orders over €40! Orders take 2-3 working days to be processed.
🎁 Create your own Lucy box! Simply add the LUCY GIFT BOX to your cart together with the items you want inside. We'll take care of the rest.
March 28, 2023
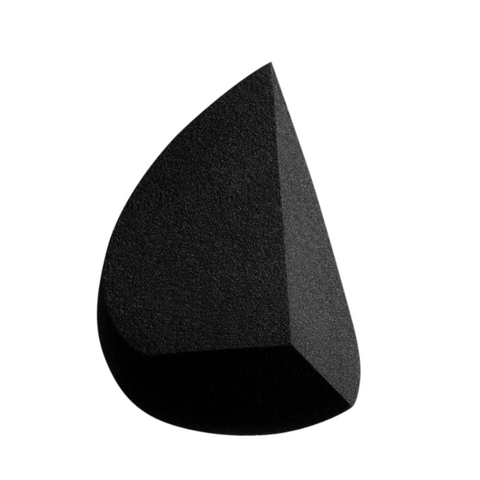
Fun, versatile, hygienic, incredibly cost-effective, and pretty much fool proof to use, it’s easy to see why the beauty blender has fast become the favoured (and TikTok-trending) tool for makeup application for makeup artists and beauty fanatics alike.
Far more than just a regular makeup sponge, its unique shape will always result in flawless foundation, concealer, cream contour and blush blending, giving you gorgeous, glowing skin.
Here’s how to use a beauty blender to max out your base game.
It’s important to always wet your beauty blender before applying makeup – use it dry and your complexion will look cakey. Before each use, run it under your tap until it’s fully soaked, this is when your sponge will double in size! The foam material in the blender absorbs the water instead of absorbing your product, leaving more of it on your skin without getting soaked up by your sponge.
Once your beauty blender is full of water, it’s time to squeeze it out, until it’s damp. Your sponge should now be at the ideal size and dampness to start dipping into your product. For even coverage (and less waste), pour foundation onto the back of your hand, then use the beauty blender to transfer it to your face. This will help you to build coverage from sheer to full, and to go back and add more coverage to problem areas.
Sweeping or dragging the beauty blender across skin like a brush simply moves product around, causing streaks and patchiness. Pressing and bouncing it lightly on the skin will result in a more even, skin-like finish, and is also much gentler on your skin. The result is more coverage, with less product needed – and thanks to the pointed tip, means you can press product into every nook and cranny of your face.
Although we may not do it, we know that we should be cleaning our beauty blenders every single week (yep! Every week). This will help to break down dirt and residue build up on your sponge, which will stop the spread of bacteria, AKA no breakouts.
If you’ve been cleaning your beauty blender with washing up liquid, we’re here to give you a little telling off. Cleaning your beauty blender using washing up liquid means that the residue will likely end up on your face, which in time can cause breakouts, so always opt for a proper brush and sponge cleanser. We love the Sigma Brush Trio set!
And there you have it, LUCY Lovers: your pint-sized guide to how to use a beauty blender! Have we missed your favourite base makeup tip? Drop us a line and tell us about it!
Comments will be approved before showing up.
March 26, 2025
Class, today’s homework assignment was to recreate a look inspired by the one and only Dame Pat McGrath. And let’s just say, our staff member NAILED it.
Imagine: Dramatic shimmer, bold pigments, and skin so flawless it looks like it was sculpted by Michelangelo himself. That’s the Pat effect.
March 11, 2025
Class is in session, and today’s topic? Marilyn Monroe—Hollywood's ultimate bombshell and the woman who turned a single lipstick shade into a legacy.
March 05, 2025
Let’s set the record straight: Cleopatra wasn’t just a queen; she was the queen. A ruler, a strategist, and the OG beauty icon. If she had an Instagram, it would’ve been all eyeliner tutorials, milk bath selfies, and ‘get ready with me’ fragrance lab tours.